 Brittany's Pantry
Peanut Butter Chocolate Chip Cookies: 4 Batches = Perfection
Brittany wrote this on 11 March 2012![]() chocolate, peanut butter, peanuts
chocolate, peanut butter, peanuts
 Mmm. This picture makes me so happy…
As I was looking down my list of food to freeze and have on hand after baby #3 arrives, I noticed that peanut butter chocolate chip cookies were not on my list. For shame! How could they have been overlooked?! So in the midst of the 101 other things I was doing yesterday, I decided to make some. Unfortunately, I remembered that the recipe I usually make now had about half a dozen other different versions that had been added to it over the years. Which one was the best one? I really didn’t feel like keeping all the different recipes for one cookie so I narrowed them down, eliminated all but four, and got to work. The results were unanimous! In a blind taste test (which means paper plates with numbers on them for the different cookies-very scientific and official) my own recipe was chosen. Take that Martha Stewart, who was represented in cookie #2.
I do want to take a moment and mention why we didn’t pick this recipe from Cooking Light. I have actually made them several times before but had never done a side by side comparison. In this case, even though the cookies had fantastic texture and the use of mini chocolate chips is kind if nice, the flavor could not compare. The Cooking Light version-made with canola oil-tasted great, but when you eat a cookie made with real butter at the same time, it kind of trumps the light version. If you are looking for a cookie that is just lower in fat, they are wonderful. But in the words of my husband, “If you are going to eat a healthy cookie, go all out and make it a really healthy cookie, like these. If not, then just eat the butter version.” I totally agree.
I have now deleted or tossed all other recipes for peanut butter chocolate chip cookies. This is the only one I will bake from now on. It is chewy and wonderful. More of a chocolate chip cookie with peanut butter in it than a peanut butter cookie with chocolate chips in it. Makes for a less crumbly texture. Now my only dilemma is whether or not to make a different cookie to put in the freezer. Right next to the 4 gallon bags I have left over from testing…
 Peanut Butter Chocolate Chip Cookies
This recipe is easily doubled.
1/2 c peanut butter, crunchy or creamy
3/4 c butter, softened
1/2 c brown sugar
1/2 c sugar
Cream all ingredients together. Add:
1 egg
1 1/2 tsp vanilla
Mix thoroughly and scrape down the sides of the bowl. Add:
1 1/3 c flour
1/2 tsp baking soda
pinch of salt
Mix just until combined. Stir in by hand:
1 c chocolate chips
1 c roughly chopped peanuts, optional
Bake at 350 degrees for 10-12 minutes or until just barely golden brown on top. Cool a few minutes on the pan and then remove to a cooling rack. These freeze great!

Pineapple Upside Down Cake-I Aim To Please
Brittany wrote this on 8 March 2012![]() pineapple
pineapple
 My family had dinner at our close friends’ house tonight and in the interest of using them as guinea pigs taste testers, I offered to bring dessert. My reasons for this were three fold: they aren’t picky and will eat just about anything I make as long as it does not contain olives, they have several hungry kids and between our two families we can polish off a dessert that would normally take our family days and days to eat, and my least favorite reason is that I have gestational diabetes and I can only have a bite or two of whatever I make. The last reason is keeping me from doing a lot of experimentation in the kitchen and any excuse to try something totally new is a welcome change.
So my husband looked at me with his big, blue, dreamy eyes and asked for pineapple upside-down cake. I was powerless to resist…*sigh*
I have made just about everything except pineapple upside down cake, but was eager to make some since my Dad has always loved it and he will be here in just a few short weeks to help watch our two munchkins while Mike and I are at the hospital welcoming the third munchkin. So trial run on the recipe tonight, and round two in a few weeks. And man, I can’t wait for round two!!
As you know, I usually make a recipe several times before I post it. Just to make sure. But in this case, the whole process was so simple, there is little room for error. I ended up picking the recipe from this book, figuring I could not go wrong. Bingo! I have now tossed every other recipe for pineapple upside-down cake that I have ever clipped, copied, or scribbled in the margin of a notebook. There is no more need for testing! This is exactly what I was looking for. Simple, easy, and totally classic. It mixed up quick and made the house smell…well…there aren’t really words. Kind of like warm, pineapple ice cream with carmel on top. Soft, moist, vanilla cake covered in sticky, gooey fruit. Surprisingly, it is not all that sweet, which is one of the things I love most about this. While I was a bit disappointed that this version didn’t have the tell tale rings of fruit with a maraschino cherry in the middle, it does make for more carmel soaked pineapple per bite. And that is a very good thing. Some freshly whipped cream on the side and this very good thing goes to fabulous. Mmmm. Can you feel the love?! 🙂

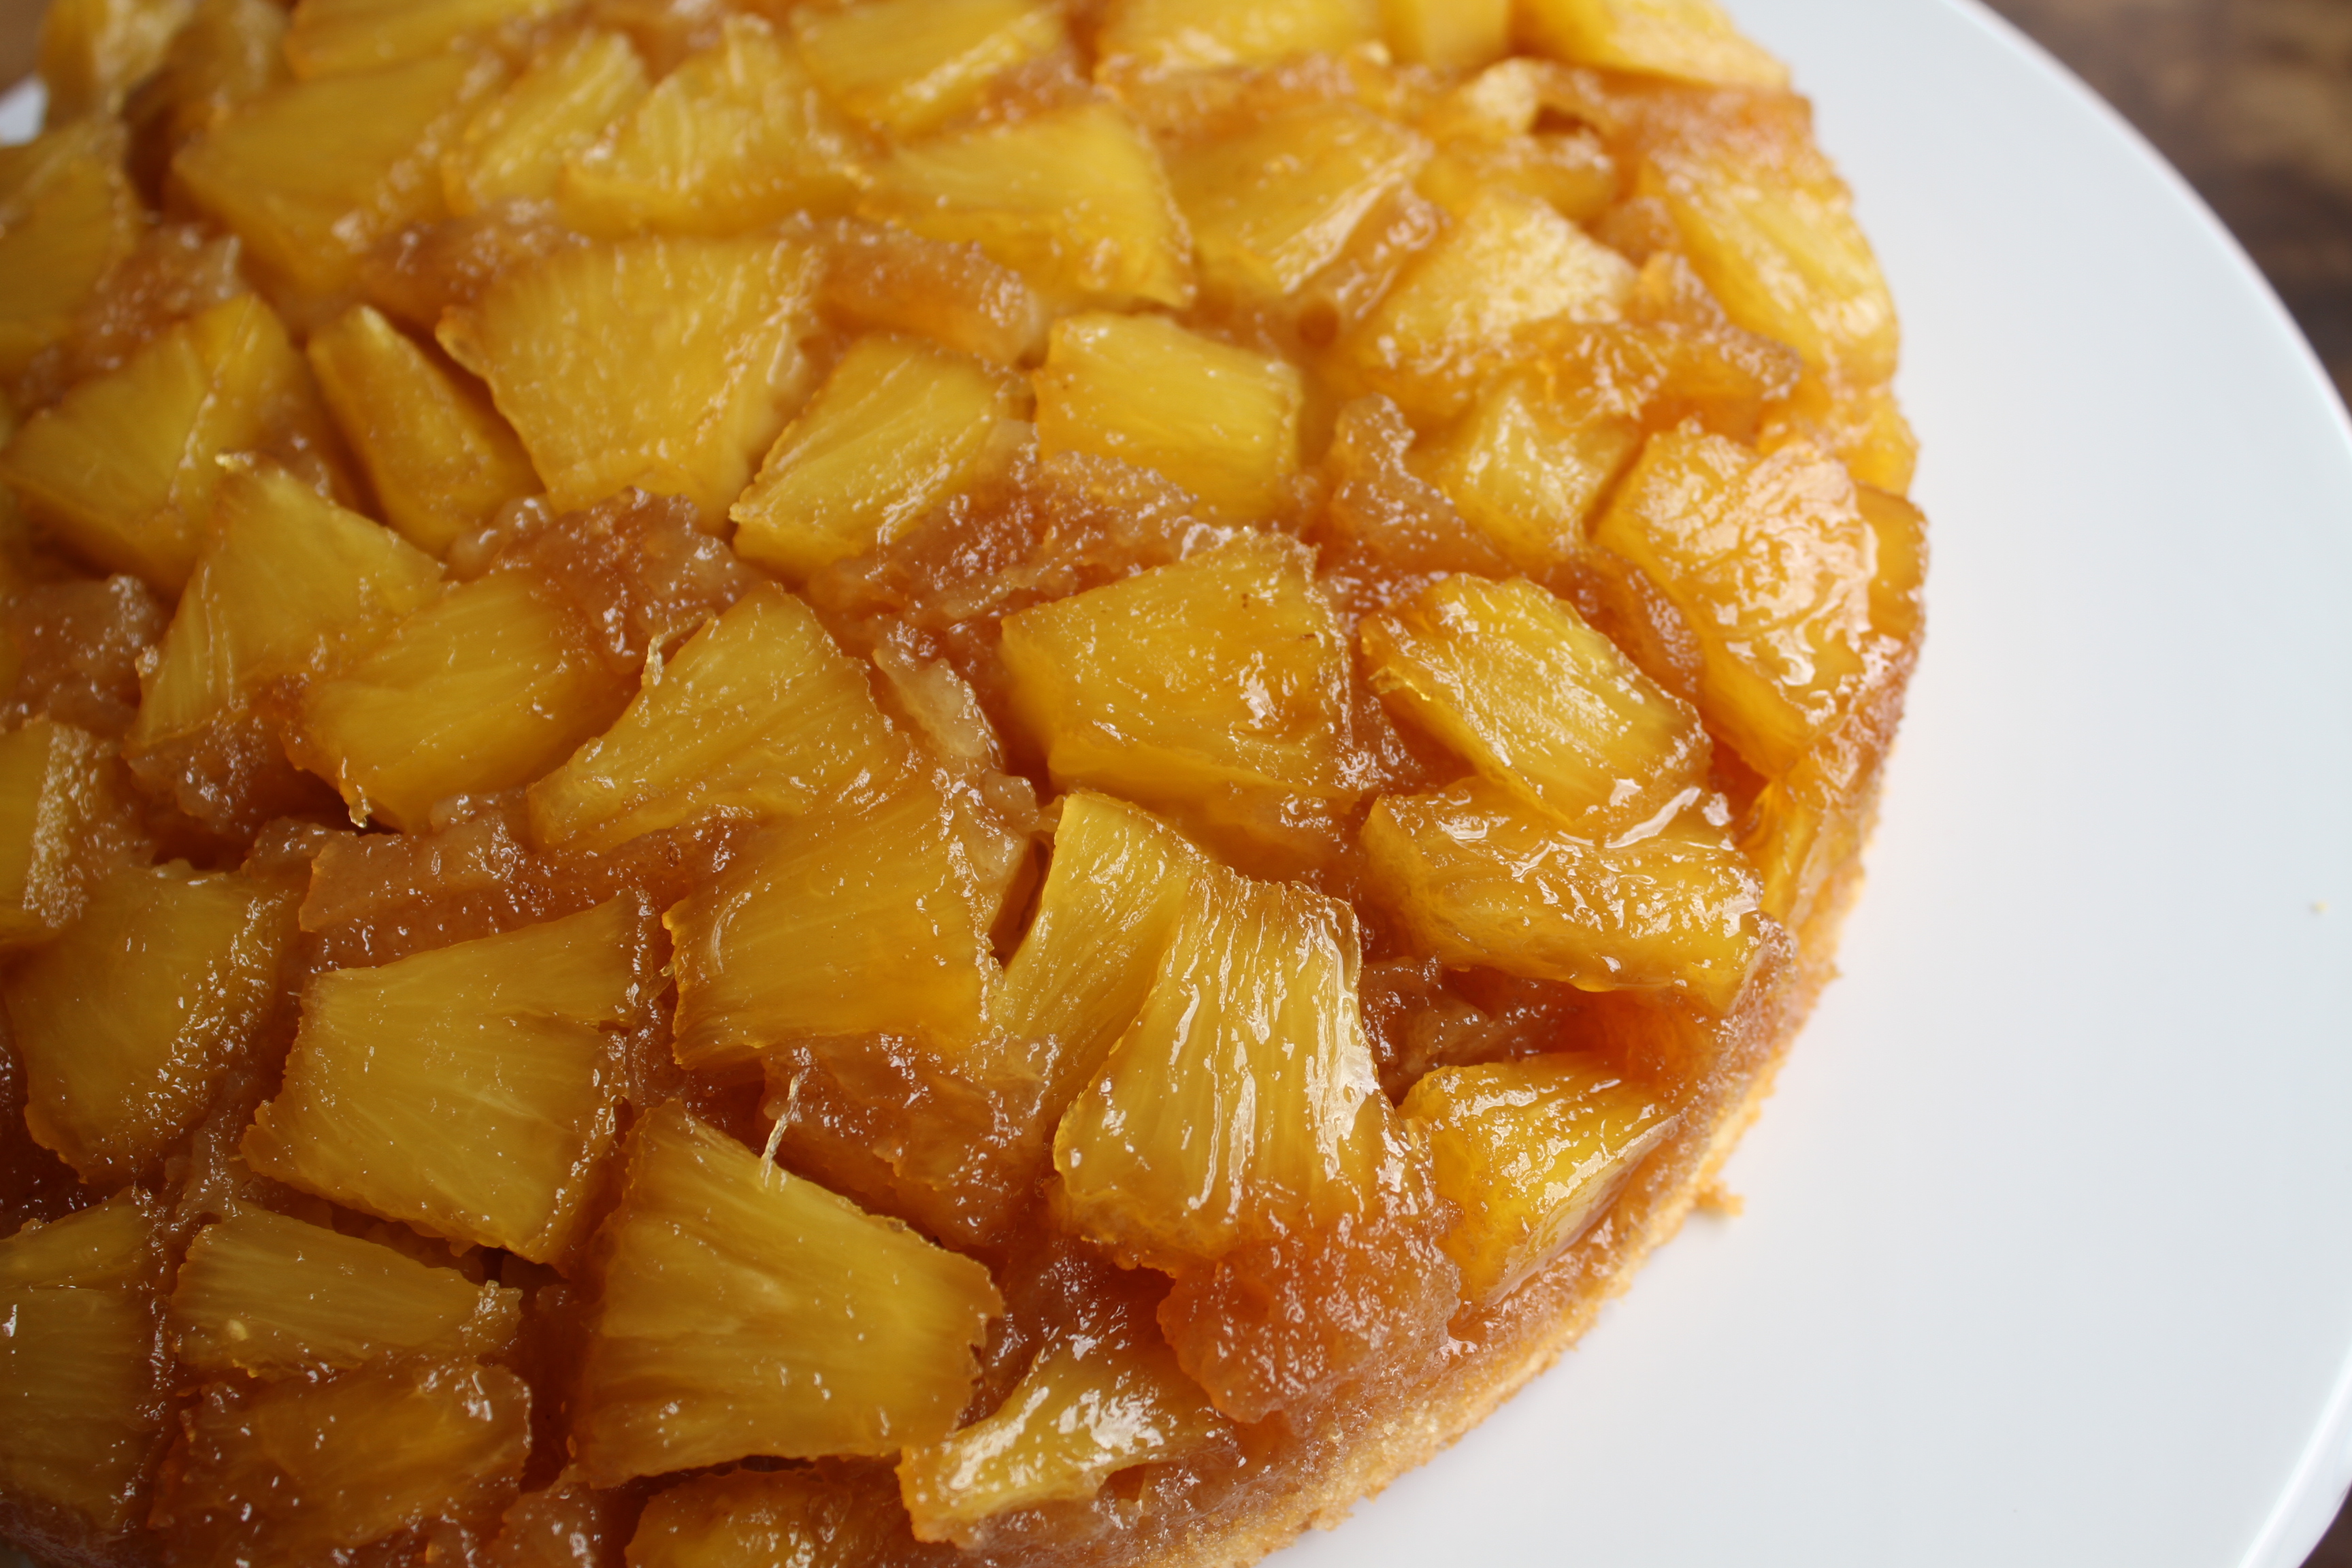 Pineapple Upside-Down Cake
ATK includes a tip if you don’t like pineapple but still want to make this cake. Use peaches! About 4 peaches, peeled, pitted, and sliced in place of the pineapple. Scrumptious! Also, I like to buy the pineapple pre-cut from the deli department to save time and energy, but it is up to you!
1 1/2 sticks (12 T) of butter, softened
3/4 c brown sugar
1 1/2 lbs, peeled, cored, and cubed fresh pineapple (not canned) which is about 3-4 cups
1 1/2 c flour
1 1/2 tsp baking powder
pinch of salt
3/4 c sugar
2 eggs, room temperature *see note*
1 egg white, room temperature
1/3 c milk, room temperature
1 tsp vanilla
In an 8 or 9 inch round cake pan *see note* (with sides at least 2 inches high), place 4 T (1/2 stick) of butter. Put pan in a 350 degree oven until melted. Watch carefully so it doesn’t burn! Just melt! Add the brown sugar to the pan and mix with a spatula, spreading it out to cover the bottom of the pan evenly. Add your pineapple in one even layer. You may use a little less than called for. You just want to cover the pan evenly without any major holes. Set this aside. In a medium bowl mix the flour, baking powder and salt. Set aside. In a mixing bowl with a paddle attachment, beat the remaining 8 T of butter with the 3/4 c of sugar. Beat until light and fluffy, about 5 minutes, scraping the bowl at least once. Add the eggs and the egg white, one at a time, beating after each and scraping the bowl. Add vanilla. Add 1/3 of the flour and mix carefully, then half the milk, then another third of the flour, the last of the milk, and finally the last of the flour, mixing just until combined. Scrape down the sides of the bowl and mix by hand a few turns till smooth. Drop big globs (yes, that is a technical term…) of batter onto the pineapple and carefully smooth out until even. Bake for 40-45 minutes or until cake just starts to pull away from the sides of the pan and a toothpick comes out with just a few crumbs attached. Let cake cool 10 MINUTES in pan before inverting it onto a serving plate. Let cool for at least another hour. Serve plain or with cream. Or for breakfast. Or snack. Or brunch…
Note: If your eggs are not at room temp, simply place them in a small bowl filled with very warm tap water and let sit for a minute or two. You just want to take the chill off of them. Milk can be microwaved for just a few seconds. You don’t want them warm-just not cold. This helps ensure a nice, fluffy, light cake.
Note: You can also bake this in a 8×8 or 9×9 square baking dish.
Sticky Chicken-Roast Chicken From The Freezer
Brittany wrote this on 5 March 2012![]() chicken, gluten-free
chicken, gluten-free
 There are certain times when I wish you could smell a picture. Now is one of those times.
And please note that part of the above picture is fuzzy because the steam was pouring off this baby like a volcano and filling my screen porch (where I take 99% of my pictures) with the aroma of perfectly roasted chicken. *sigh* Great for the nose and great for dinner-terrible when you are trying to take a clear picture before your light vanishes…
This recipe is based on the bazillions of Sticky Chicken recipes that are out there. This is my version, created on the spur of the moment almost exactly 6 years ago when I was expecting my first child and trying to fill my freezer with food for the busy months ahead. Little did I know that it would become such a fantastic meal for our family! It could NOT be any simpler. So if you are looking for some make ahead meals or dinner for tomorrow night, this fits the bill.
The elements of this dish are simple. Dry rub + chicken = scrumptious dinner. What makes this even yummier is the fact that the combo of certain herbs and spices make this fantastic crust on the outside that guarantees a scrumptious, juicy chicken. Just throw it in the oven and roast it. Done! Lip smackin good. However, I do recommend that you wait until it cools just a bit. Snitching chicken that is steaming hot like a volcano makes for burnt fingers that are hard to type with the following day…
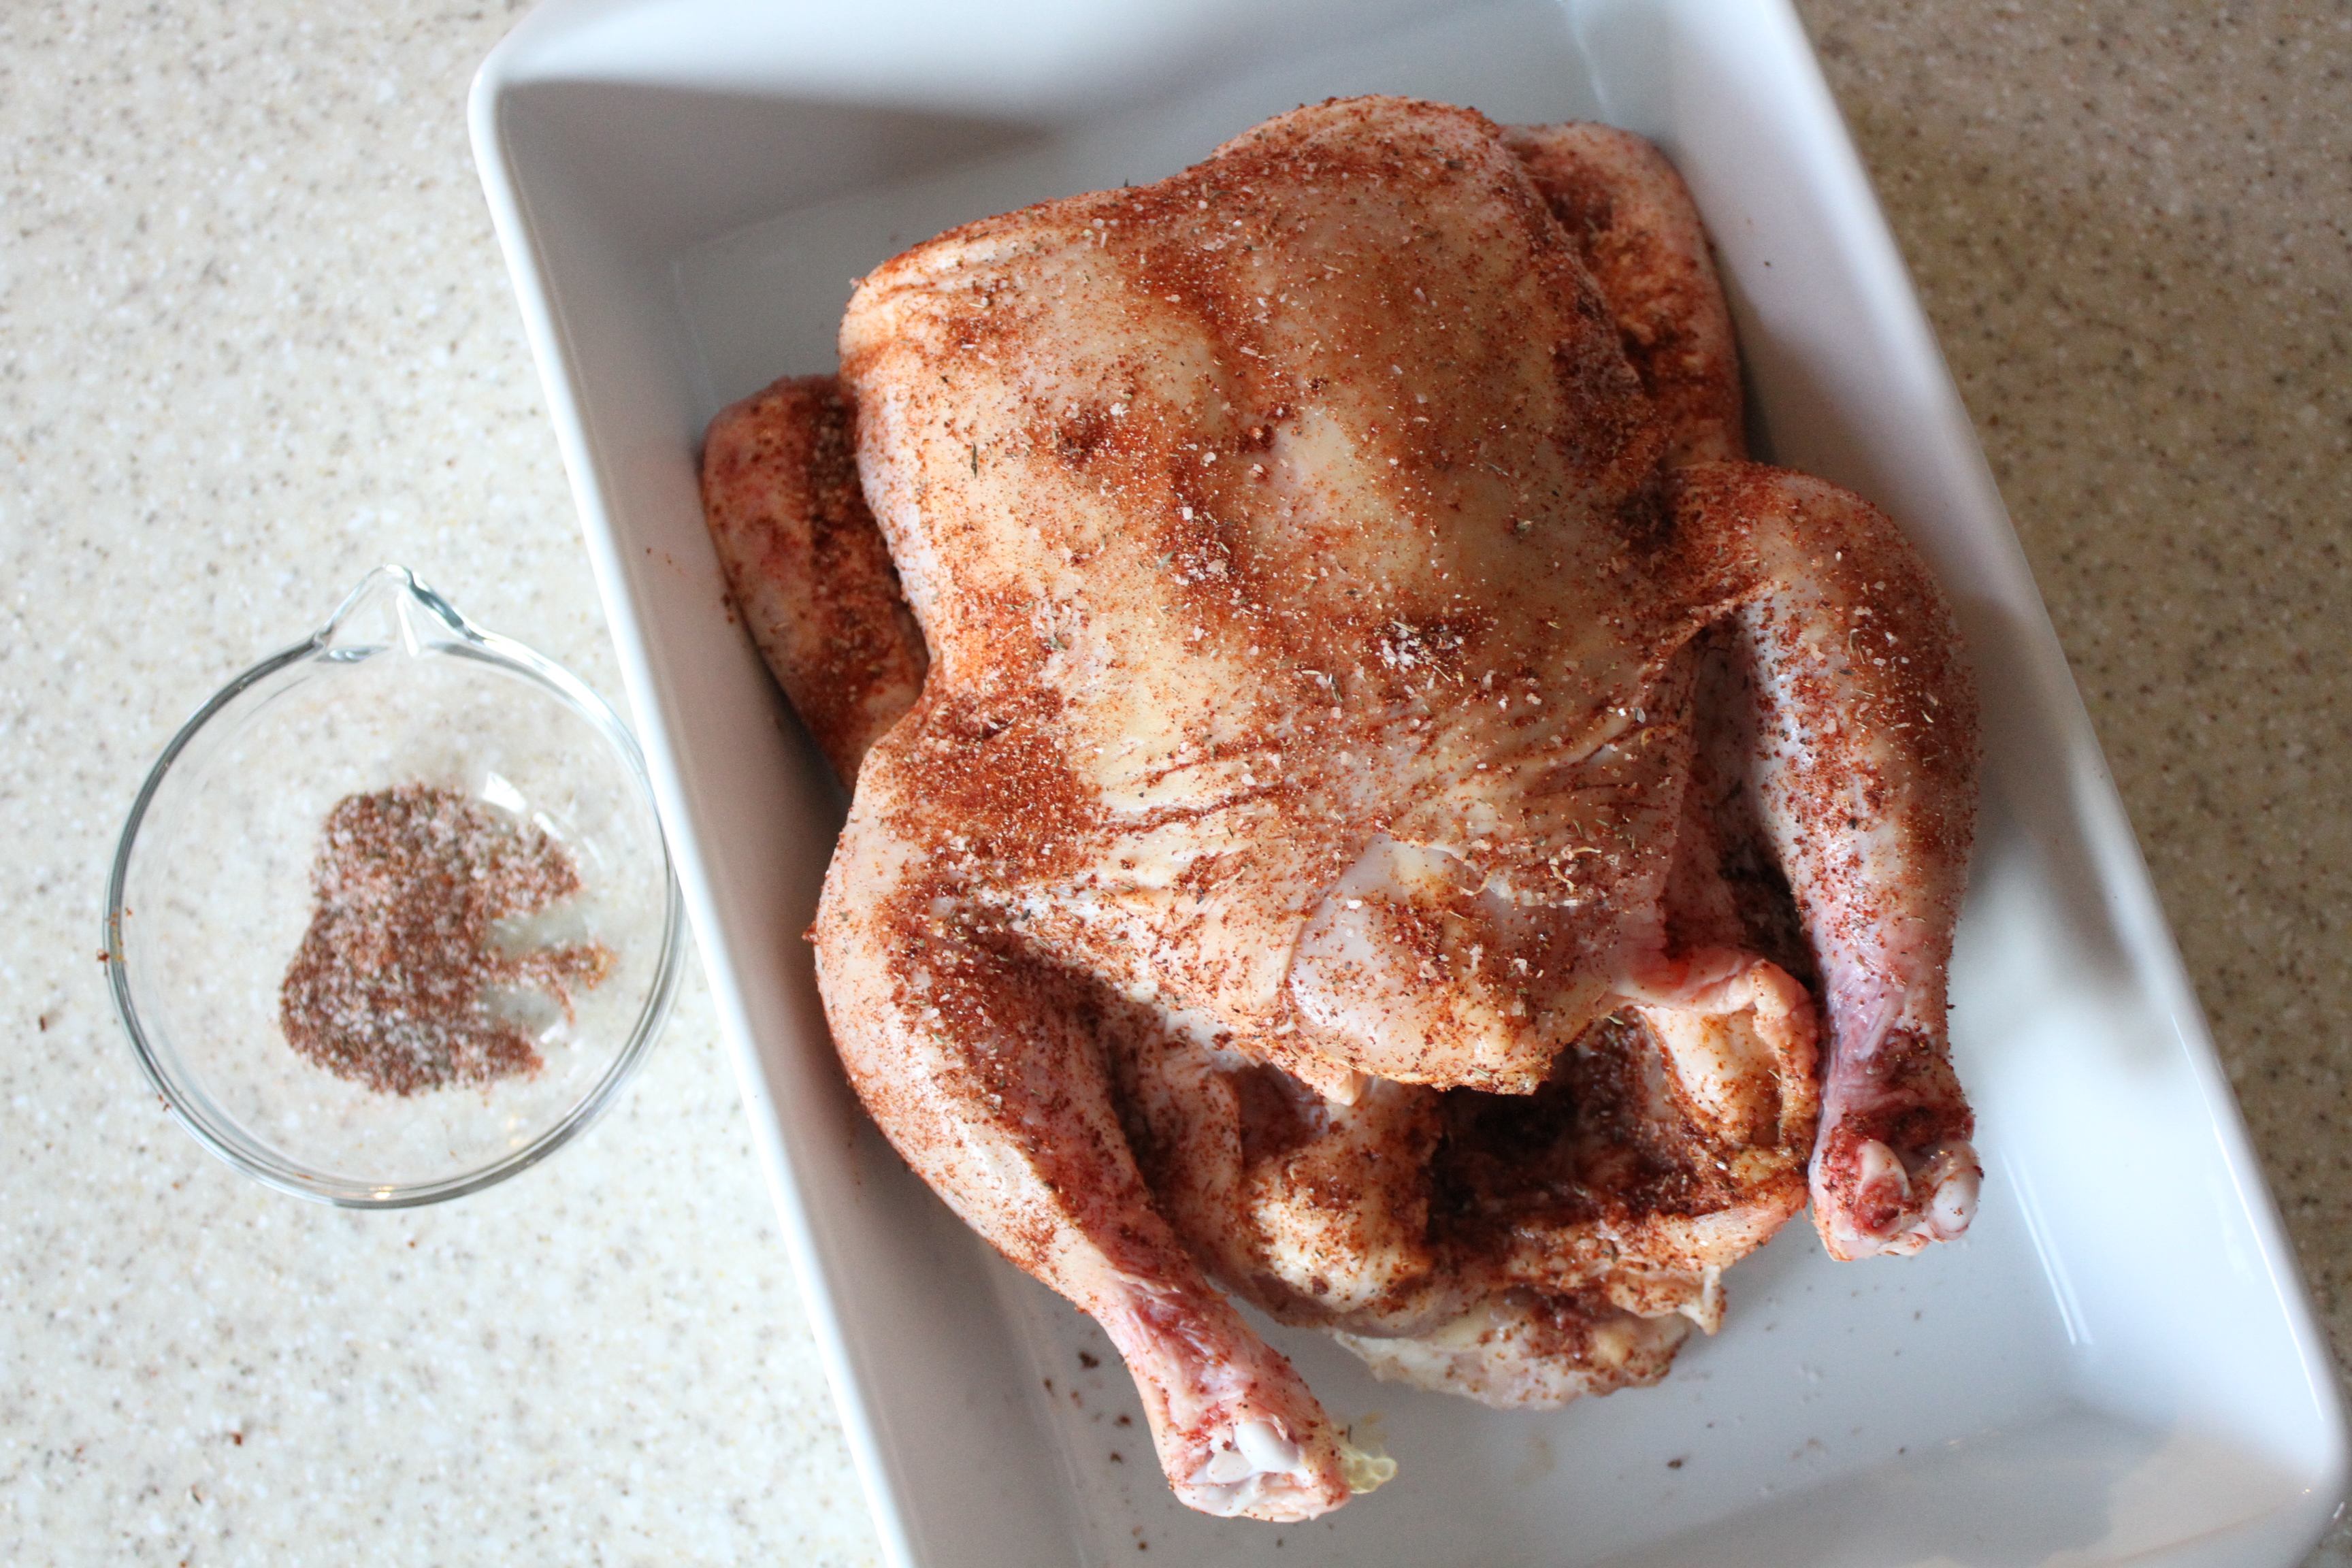 Mmm. Dusted with dry rub and ready for the oven! This week, two more that look just like this will be added to my freezer!
Crusted, crispy, and perfect!
Sticky Chicken
Dry Rub:
2 tsp kosher salt
2 tsp paprika (not smoked)
1 tsp dried thyme
1 tsp onion powder
1/2 tsp black pepper
1/2 tsp cayenne pepper, or to taste
1/2 tsp garlic powder
Mix all ingredients together in a small bowl. Sprinkle and rub the inside and outside of one roasting chicken that has been rinsed and patted dry with paper towels.
*If desired, freeze the chicken at this point. Just place the seasoned chicken in a freezer bag, squeeze out as much air as possible and seal. Freeze for several months. Defrost overnight in the fridge and proceed with the recipe.
Place chicken on a lined sheet pan, small roaster, or large baking dish. Roast at 350 degrees for 1-1 1/2 hours, or until the internal temp of the chicken reaches 175-180 degrees or the juices run clear when the thigh is pierced. Cool slightly before carving.
Love a Good Recipe?

Then you’ve come to the right place! I’m Brittany, and I share tested, trusted recipes you’ll love. I prepare & photograph food, obsess over the perfect recipe, and enjoy grins of delight when I serve up something awesome. Enjoy!

